Calibration Targets
Laser-Marked Precision for DIC
There are many types of calibration targets and models available from Correlated Solutions, such as Standard, Dual-Sided, Glass (macro & micro scales), Infrared, Low-Resolution, VDI 2626, and Variable Ray Origin (VRO). Our calibration targets are designed and manufactured in-house specifically for VIC systems. To find out more about the type of targets you need, review this page and please contact us if you have any questions or need a quotation.
2D Calibration
The process of calibrating a VIC-2D system is quick and simple. The procedure calibrates the scale of the measurements and is not required to measure strain. The procedure requires two identifiable features on the specimen’s surface with a known distance. Simply mouse-click on these two features and enter the value into VIC-2D to calibrate the scale. If markers are used, subpixel accuracy can be achieved. 2D high-magnification calibration for optical and Scanning-Electron microscopes is possible using VIC-2D’s free software modules.
3D Calibration
Calibrating a VIC-3D system is straightforward and has been streamlined to a nearly automatic process. The procedure for the 3D system involves moving, imaging, and analyzing a rigid calibration target in front of a stereo camera pair. This precisely calculates the cameras’ intrinsic and extrinsic parameters while triangulating the cameras’ positions and removing lens distortions. This ultimately removes any measurement bias and defines a three-dimensional coordinate system on the specimen’s surface. This entire process typically takes 1-3 minutes.
VIC-Gimbal
Digital image correlation is deployed in a great variety of research and testing scenarios all around the world, and in some situations, precise calibration of the stereo camera setup remains a difficult challenge. Since the early days of DIC, Correlated Solutions has been at the vanguard of developments in calibration technology, and we are proud to continue the tradition of commitment to customer success with the VIC-Gimbal.
Designed for precision, automated calibration of VIC-3D systems, the VIC-Gimbal provides the solution for several unique research challenges presented by our customers. Some of these include:
High-resolution cameras
Small depths-of-field (DOF)
Isolated or confined testing areas such as climate chambers or radioactive environments
Iterative testing which requires repeatable calibration scores
Please note the following: this product is for use with targets up to 7 mm and requires VIC-Snap 10.
Also, this product contains a Wi-Fi capable board, but this capability is not supported in the US.
Click above to see the new laser-marked calibration targets in action.
Click above for a comprehensive calibration tutorial featuring VIC-3D.
Standard Calibration Target (30 mm - 2000 mm)
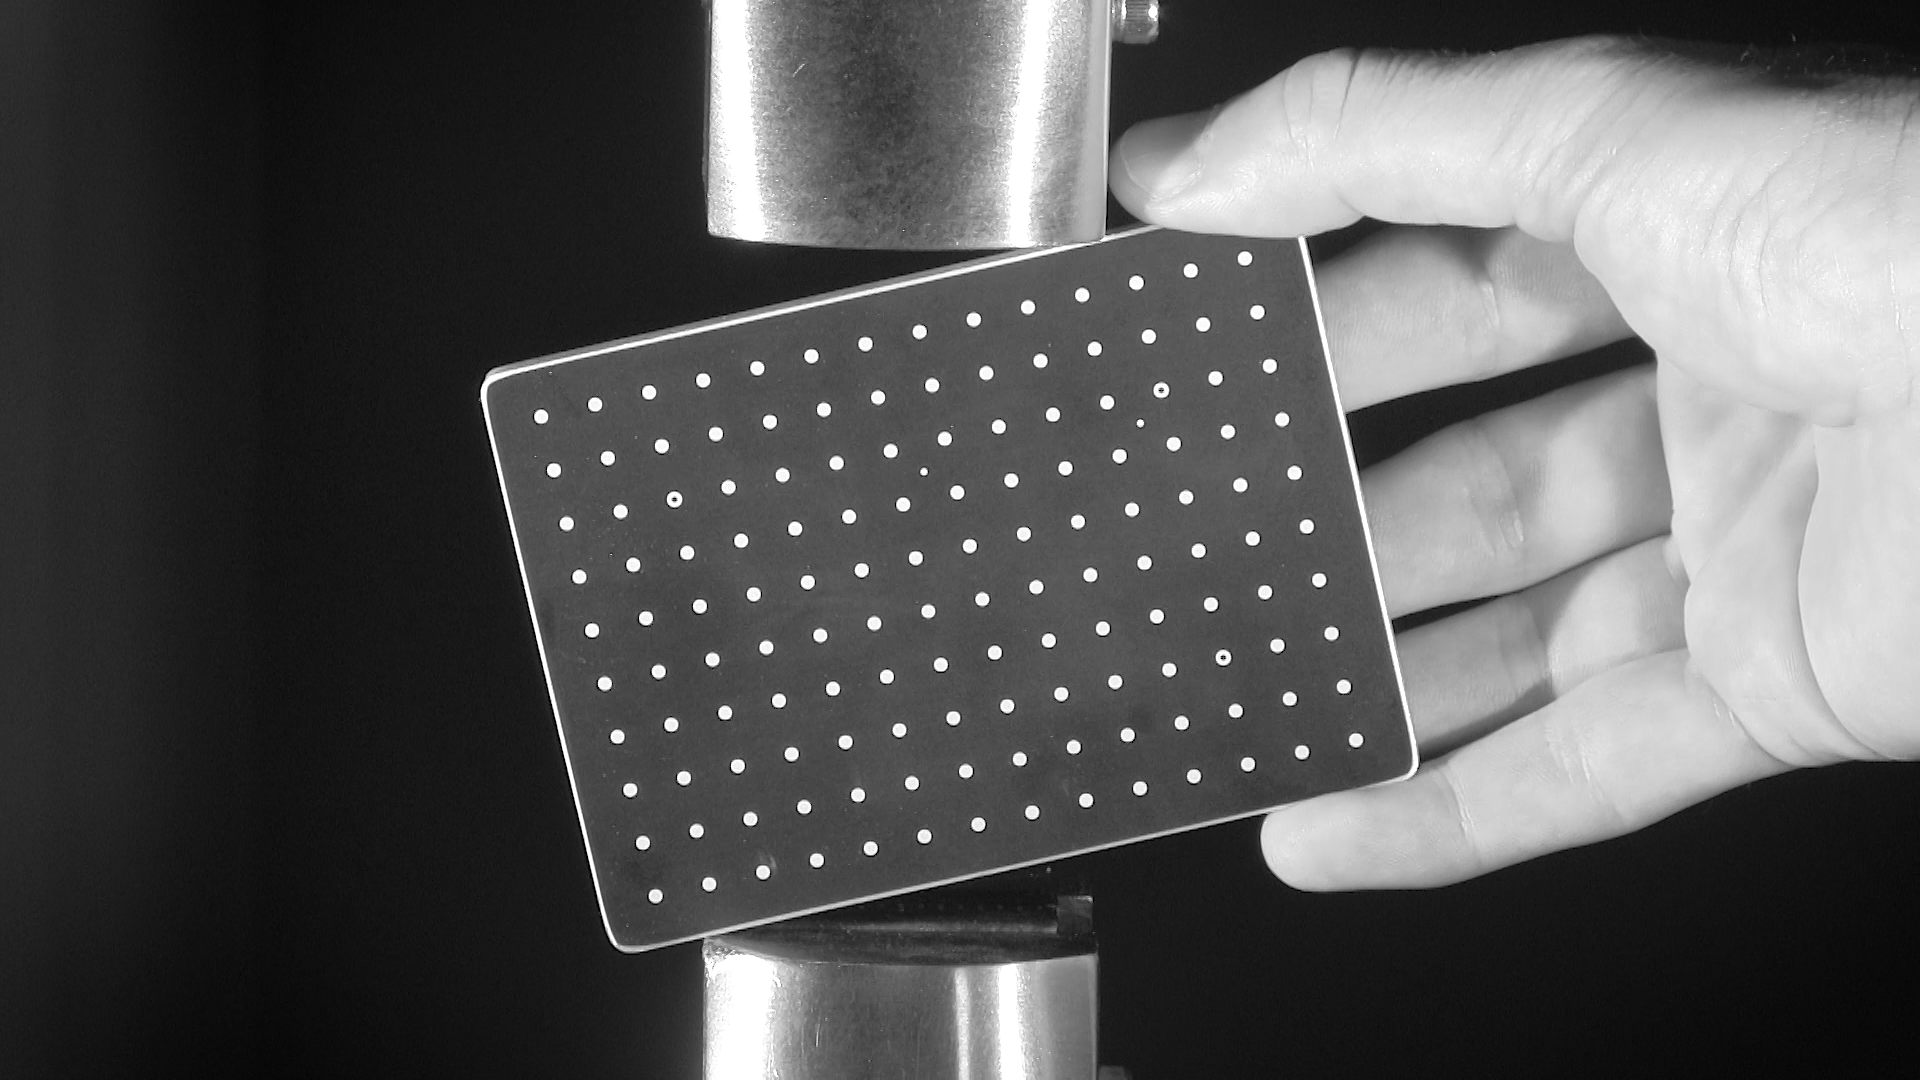
The Standard Stereo Calibration Target set is provided with each VIC-3D system and covers fields of view from 30mm to 2000mm. Each target features a laser-marked and high-contrast dot pattern with a rigid & durable design. Each target is specially coded for automatic spacing detection in VIC-3D 7 and later versions. These targets can be used for calibrating high-speed and low-speed systems and are available in a “low-resolution” variant for calibrating the VIC-3D Ultra-High-Speed system. If exact calibration target measurements are desired, Correlated Solutions also offers NIST traceable certificates which provide detailed measurements on spacing parameters. VDI 2626 calibration panels are also available for further measurement traceability. These panels are specifically designed to cover a wide variety of camera resolution and field of view scenarios.
Aluminum Composite Calibration Targets
Large Scale Calibrations (>2000 mm)
The largest target (36″ x 24″) made by Correlated Solutions calibrates a field of view up to about two meters. If calibrating a larger field of view is required, a single target is no longer practical to use or cost-effective to produce. To overcome this problem, Correlated Solutions has implemented an intelligent calibration technique called “External Orientation Calibration.” This is a two-step technique that first calibrates each camera individually with the largest standard calibration target, and then uses a known distance on the specimen’s surface to calibrate for scale. This provides a very accurate, low-cost solution, and practical solution to what may initially seem like a “large” problem. Markers with known coordinates may also be used to further improve the calibration accuracy and can be used for multi-system calibration. Implementing this technique demonstrates the robustness of VIC-3D products and the flexibility of the calibration procedure.
Macro Scale Calibrations (~7 mm-30 mm)
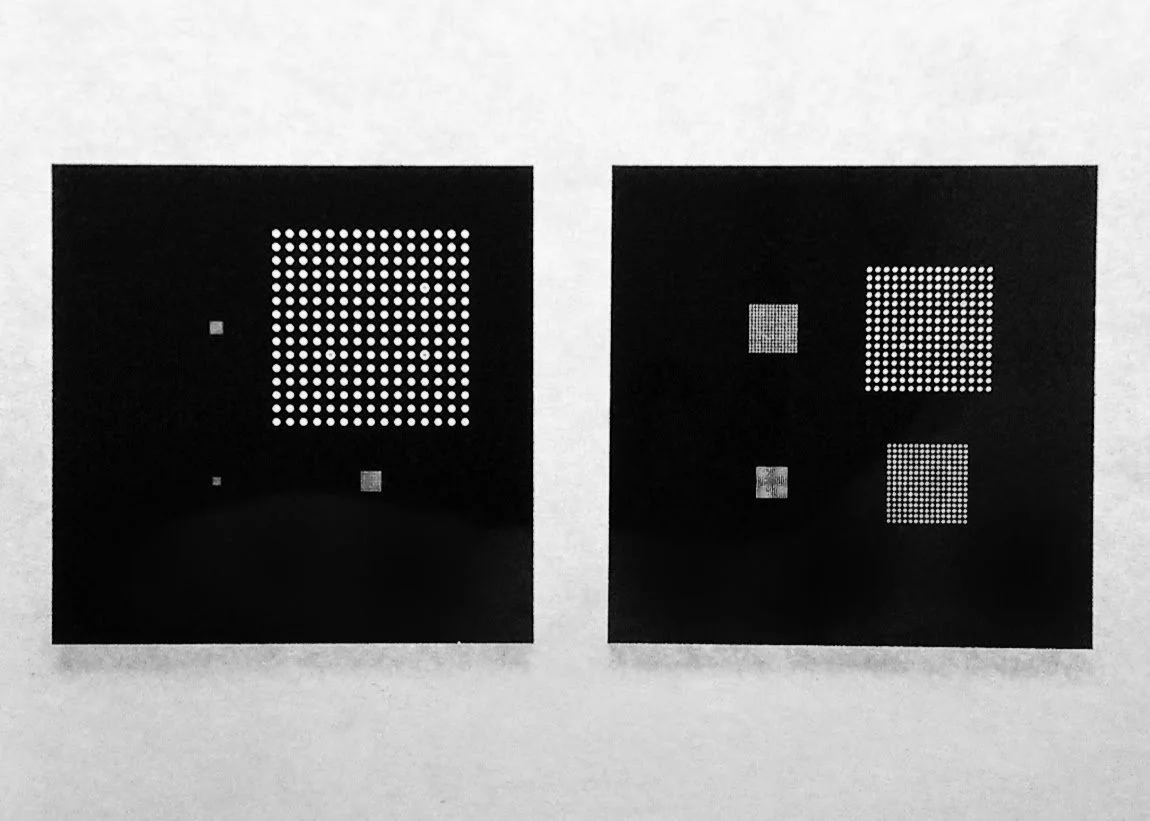
For fields of view from ~7mm-30mm on a VIC-3D system with standard optics, one of two glass targets should be used, either the 1″ Target for fields of view 20mm-30mm or the 4-in-1 Target (seen left) for fields of view ~7mm-20mm.
Both targets are generally provided together and with the backlit fixture with gimbal assembly seen on the left, with optional flat and/or cylindrical attachments for easy mounting and positing in a Univeral Testing Machine (UTM). Using these components together will ensure both stability and flexibility when calibrating small fields of view.
If the sample is 7mm or smaller a standard system can be used; however, the Micro-DIC-System or the VIC-3D Microscope system should be heavily considered in order to take advantage of camera resolution to maximize your test’s potential data points.
Glass Calibration Targets
When calibrating fields of view smaller than 30mm, standard calibration targets are no longer ideal to use due to the limitation of the manufacturing resolution of the markers. Imaging standard targets at fields of view smaller than 30mm can also prove difficult with no other hardware to provide assistance during the tilt and rotation process.
For small-scale calibrations from 0.7mm to 7mm (micro) and ~7mm to 30mm (macro), Correlated Solutions provides blue chrome plated, sodalime glass calibration targets. All glass targets are created through a photolithography process which creates a plating of blue chrome over the face of the glass plate. With proper backlighting, these targets provide very sharp edges which are clearly seen at high magnifications and are compatible with external hardware, such as target fixtures and gooseneck positioning arms. Since the depth of field decreases at higher magnifications, external hardware (backlit fixture) is almost always necessary for stabilizing the target while allowing for steady small out-of-plane tilts.
See the backlit calibration fixture in use in this video.
Micro-scale Calibration (0.7 mm-7 mm)
For fields of view from 0.7mm to 7mm, the micro-scale calibration package will be required. Whether using the Micro-DIC-System or the VIC-3D Microscope system, the micro-scale speckled and dot calibration targets (combined with the backlit fixture with gimbal) accurately correct for the complex optical distortions present in these systems. Without implementing VIC-3D’s patented high-magnification calibration algorithm, accurate DIC measurements at this magnification are just not possible using traditional methods.
Calibrating Through Glass/Liquid
The Variable Ray Origin (VRO) calibration feature included in every VIC-3D system is an exclusive stereo calibration feature that corrects for changes in the refractive index between the speckle pattern and a stereo camera pair. This is especially important when imaging a specimen through one or more panes of glass (e.g., a viewport of a heating chamber) or when a specimen is submerged in a liquid - particularly common in biomechanical applications, While a standard calibration procedure cannot remove the bias that leads to significant errors in shape, deformation and strain data, implementing the VRO calibration model leaves data with no discernible bias.
Advanced Calibration Applications
Speckle Targets (35mm - 1500mm)
Dual-sided speckled calibration targets were developed to support the improved method of simultaneously calibrating two-facing VIC-3D systems when previous marker tracking methods were shown to have poor accuracy. The target allows DIC data from oppositely mounted systems to be combined into a common coordinate system with relative ease. When an application requires the measurement of two sides of the same specimen to measure thickness or necking, a dual-sided speckled calibration target makes this possible.
These speckle targets can also be used for hybrid calibration to improve distortion correction, and for multi-system registration which increases system registration accuracy by over an order of magnitude.
Speckle targets are designed and manufactured in-house and are customized to the system’s resolution and field of view requirements. They are made in much the same way as standard calibration targets to ensure high precision, rigidity & durability for a multitude of testing environments.
IR Calibration (50mm-300mm)
If your application requires full-field temperature measurements alongside strain and deformation measurements, the new VIC-3D IR System is the perfect solution. This capability may be added to any existing VIC-3D system by simply adding the VIC-Snap IR module with a compatible IR camera and the VIC-3D IR calibration targets.
To calibrate an Infrared camera so that the temperature readings can be accurately synchronized and overlayed onto the VIC-3D DIC data, a special calibration target and procedure must be followed. The dots on the target must both be visible in the IR spectrum and the visible light spectrum in order for the calibration to succeed. The best way to achieve this is to use a slightly heated laser-marked solid-aluminum calibration target. Chrome plated glass targets are also used to calibrate smaller fields of view.
Each IR calibration target comes with its own protective case and is available for a wide range of specimen sizes and system resolutions.
VIC-Snap Remote App
VIC-Snap App, available on iOS and Android, allows users to conveniently view and acquire live images on a mobile device or tablet while setting up the system. The app is particularly useful for single-person operations and/or when calibrating for large-scale tests. Simply connect a device to the VIC computer via the WLAN to control the system. Zoom in with a pinch to adjust the focus, use crosshairs to help align the cameras, control the cameras’ exposure for even illumination, and acquire calibration images with a tap.
Calibration Accessories
Calibration Target Generator
Need to quickly replace or create a custom calibration target? Users have the ability to create their own standard calibration targets using the Calibration Target Generator, which can be found on the Downloads page or downloaded directly here: cal_gen.exe (7MB). Self-printed targets must utilize a high-resolution laser printer and must be adhered to a fairly flat, but more importantly, rigid plate.
Note: some browsers require right-clicking on the link and selecting “save as” to download the file successfully.
We can provide calibration targets to VIC-3D system owners as standalone items, complete sets, or as part of a turnkey system for new customers. To include the capabilities these calibration targets can add to your VIC-3D system, please contact us today.


