
The scientists and engineers at Correlated Solutions developed digital image correlation technology at the University of South Carolina more than 35 years ago.
Principle of Digital Image Correlation
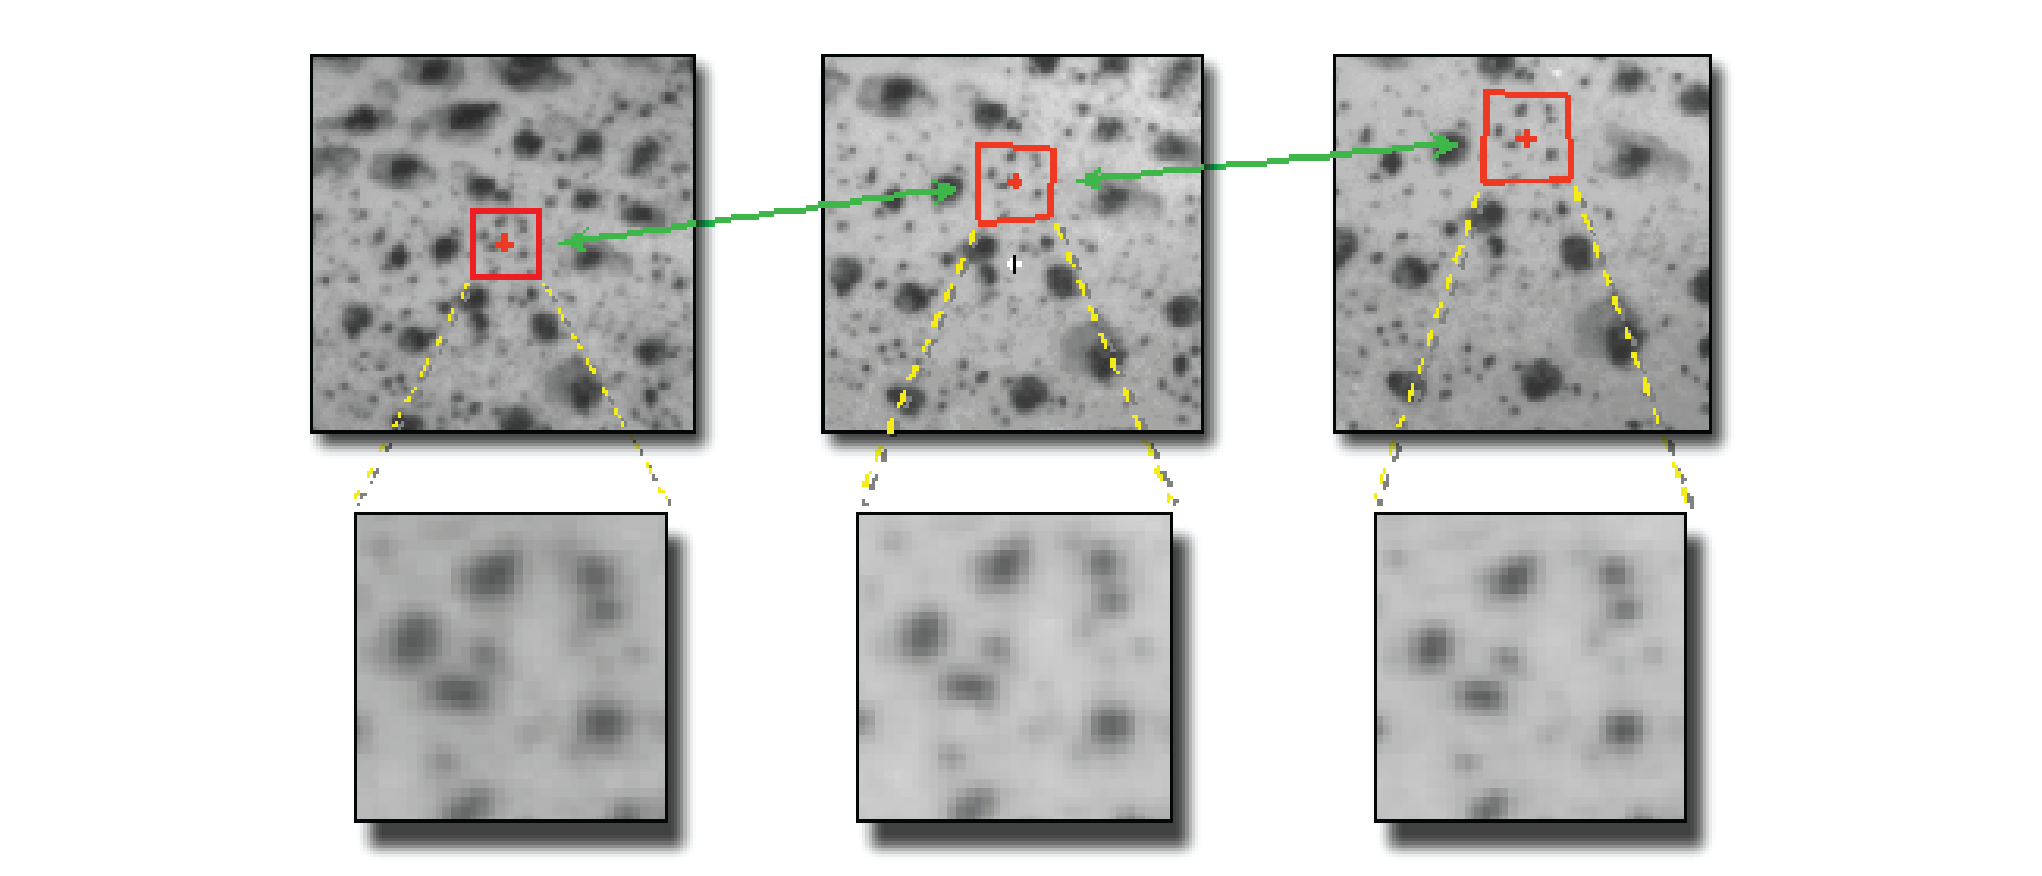
Digital image correlation (often referred to as “DIC”) is an easy-to-use, non-contact optical method which measures deformation on the surface of an object. This method tracks the displacements in the speckle pattern in small neighborhoods called subsets (indicated in red in the figure below) during deformation. Digital image correlation has repeatedly proven to be accurate when compared to LVDTs, strain gauges, and valid FEA models for many years. It is now the industry-leading optical measurement method around the world. The DIC systems from Correlated Solutions utilize the most advanced hardware available to ensure the system is fast, robust, and produces the most accurate data.
For a comprehensive introduction to digital image correlation technology, watch the guest lecture by Alistair Tofts linked below. As part of the Oregon State University College of Engineering's seminar series, Alistair and OSU engineering professor Dr. Brian Bay discuss specific application examples that highlight the potential for this technology.
We wrote the book.
Co-authored by the founders of Correlated Solutions, Image Correlation for Shape, Motion and Deformation Measurements: Basic Concepts, Theory and Application is a comprehensive overview of data extraction through image analysis. The book is a collaboration of decades of research and development of 2D and 3D digital image correlation software, which have been implemented into our products. The book can be purchased from many online retailers or directly from Correlated Solutions.
Here are just a few of the hundreds of academic publications associated with Correlated Solutions and its founders.
Systematic errors in digital image correlation caused by intensity interpolation. Schreier, H.W., Braasch J.R., & Sutton, M.A. Optical Engineering (2000) 39(11): 2915.
Full-field speckle pattern image correlation with B-spline deformation function. Cheng, P., McNeill, S.R., Schreier, H.W., & Sutton, M.A. Experimental Mechanics (2002) 42: 344.
Systematic errors in digital image correlation due to undermatched subset shape functions. Schreier, H.W., & Sutton, M.A. Experimental Mechanics (2002) 42: 303.
Advances in light microscope stereo vision. Schreier, H.W., Garcia, D., & Sutton, M.A. Experimental Mechanics (2004) 44: 278.
Scanning electron microscopy for quantitative small and large deformation measurements. Sutton, M.A., Li, N., Garcia, D., Cornille, N., McNeill, S.R., Schreier, H.W., & Orteu, J.J. Experimental Mechanics (2006) 47(6): 789.
The effect of out-of-plane motion on 2D and 3D digital image correlation measurements. Sutton, M.A., Yan J.H., Tiwari, V, Schreier, H.W., & Orteu, J.J. Optics and Lasers in Engineering (2008) 46(10): 746.
Mixed-mode crack growth in ductile thin-sheet materials under combined in-plane and out-of-plane loading. Yan, JH., Deng, X., Wei, Z. Zavattieri, P., & Sutton, M.A. International Journal of Fracture (2009) 160: 169.
Principles of 2D DIC
The two images to the right show a speckle pattern on an aluminum sample with two offset semi-circular cut-outs. The two images shown were taken from a sequence with the left image taken from the beginning and the right image taken at the conclusion. Since the deformation is predominantly in-plane, a single camera can be used to measure the deformation. The plots here show the horizontal strain measured using the VIC-2D software from Correlated Solutions.
Principles of 3D DIC
The two speckle images to the right were taken simultaneously with the left and right camera of a stereo-system. The sample itself is a piece of glass with our company logo sticker adhered to the surface. The speckle pattern was applied using commercially available flat white and black spray paint. Can you make out the shape?
The plot above shows the shape of the logo sticker measured with the VIC-3D system. The thickness of the logo sticker is approximately 0.003″ or 0.070 mm.
Good Practices Guide for Digital Image Correlation
A collaborative effort from industry professionals including the founders of Correlated Solutions, A Good Practices Guide for DIC provides guidelines for conducting DIC measurements in conjunction with mechanical testing of a planar test piece. This guide is designed to be both a primer training document geared towards new practitioners of DIC (supplementing vendor-based or other formal training and hardware and software-specific documentation) as well as a reference for experienced users, to refresh their fundamentals knowledge and skill sets and assist them in troubleshooting DIC measurements. The Good Practices Guide focuses on good practices for DIC measurement setup, image correlation, and basic post-processing of DIC data for strain computations.
Digital Image Correlation + Podcast
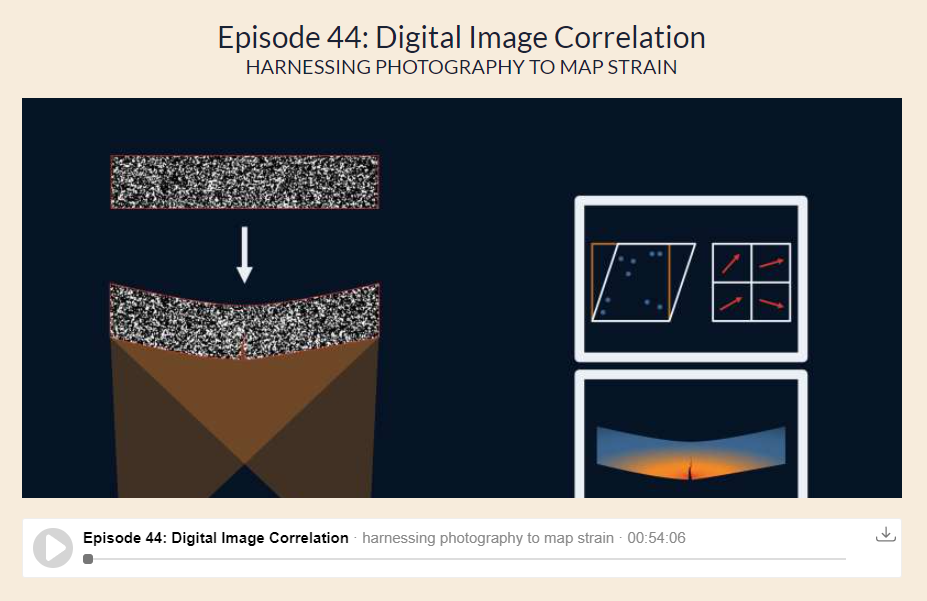
Check out this podcast from Materialism where Taylor and Andrew interview one of the founders of Correlated Solutions, Dr. Michael Sutton. In this episode, Dr. Sutton discusses the history of digital image correlation and how it is used today.


