
-

Digital Image Correlation + Thermal Imaging in VIC-3D 10
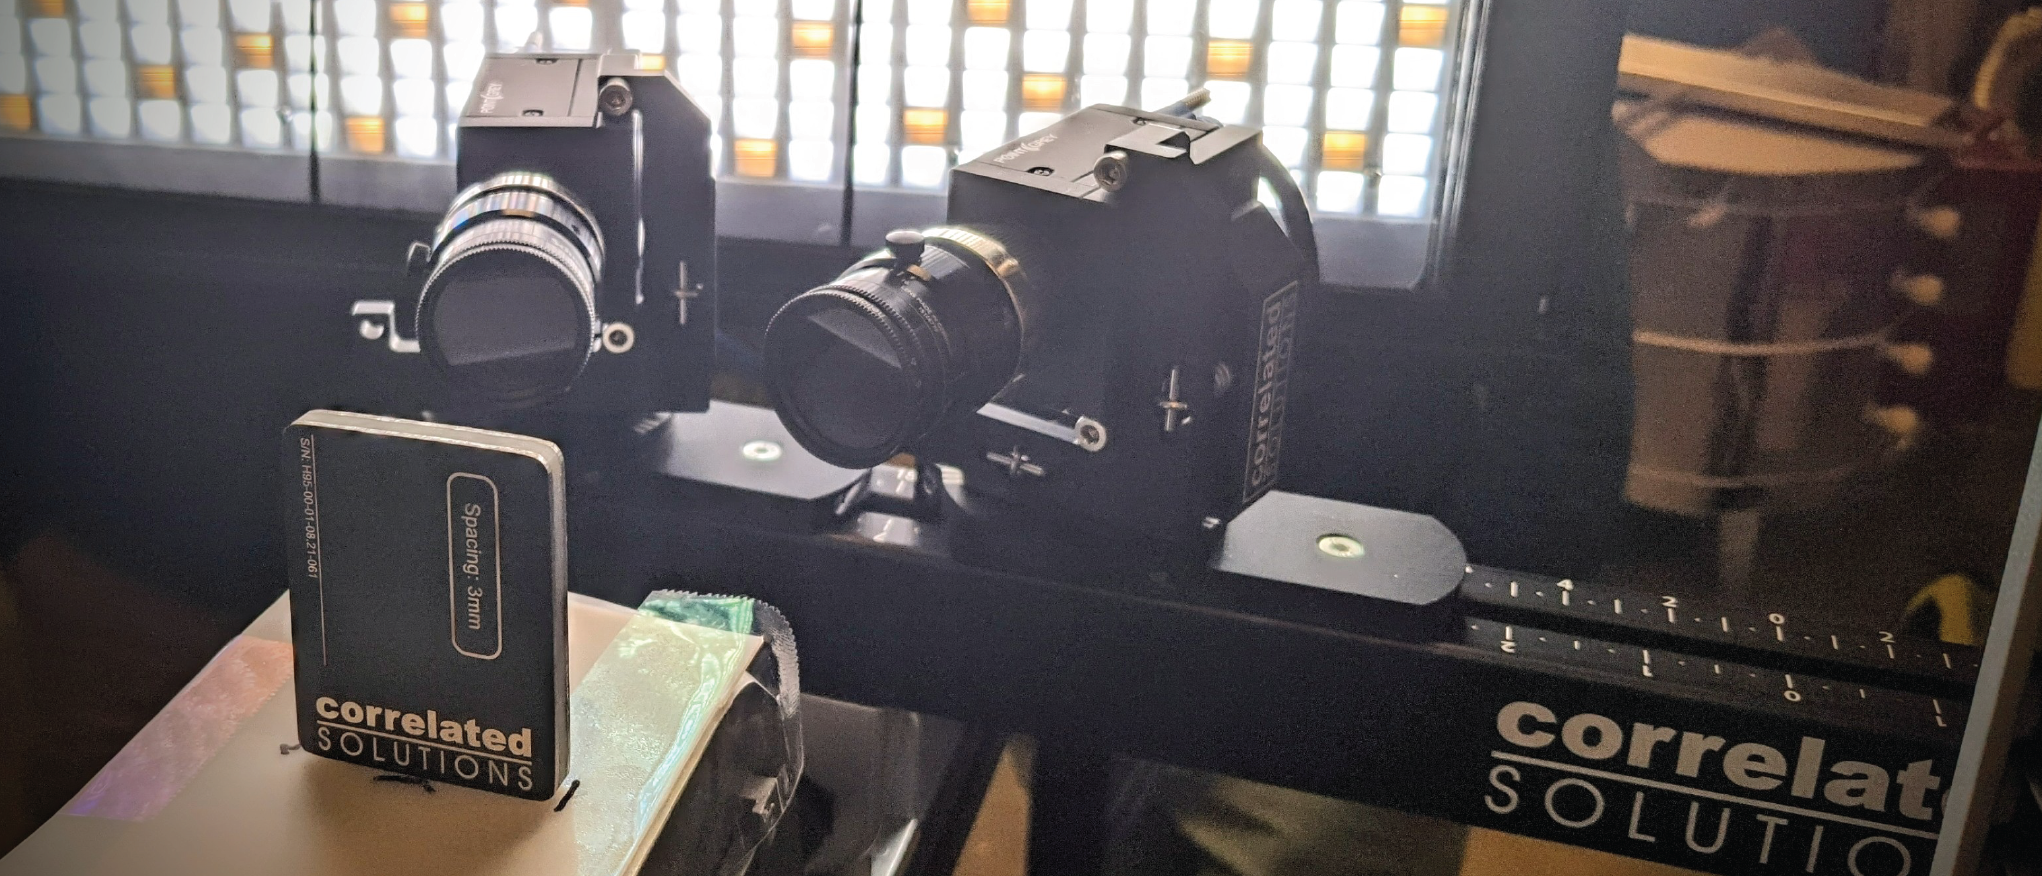
Recently, we conducted a controlled test featuring the infrared module in VIC-3D 10 to demonstrate an updated procedure for calibrating IR and white light cameras.
-

Aligning Objects
Today we’ll cover Aligning Objects in VIC-3D 9 with iris. There are two methods of aligning objects within iris. You can align an object to the page or to another object.
I’ll start here with a 2D plot with speckles and a logo. Neither are selected.
Click on Fit to Page on the toolbar for a better view.
Click the plot and notice the dotted line to indicate that the object is selected.
Click here to center the plot horizontally on the page.
Click here to center it vertically on the page.
Now we can do the same with a logo.
With the logo still selected, hold down the SHIFT key and select the plot.
Now both objects are selected and can be moved around the page together. To align multiple objects relative to each other, simply select all of the objects you would like to manipulate.
Note that the object selected last is the anchor point or what the alignment will be relative to.
As you can see, aligning objects to the page and to each other is pretty easy in VIC-3D 9 with iris.
If you have any questions, please contact our support team.
-

Easing Functions 1
Easing functions are useful for creating natural-looking animation of objects in VIC-3D 9 with iris. If you have any questions, please contact our support team.
www.correlatedsolutions.com/contact-us/
803.926.7272 ext 2
Script
This video will cover how to handle objects moving around the frame - specifically transitions between keyframes using easing functions. When animating objects, easing is used to make motion look more natural.
A linear motion with an instantaneous start and stop appears artificial; adding smooth start and stop, acceleration, or “bounce” effects can remedy this. To demonstrate, we’ll create a logo drop like you see here. We’ll begin with the object out of the frame and set the first keyframe. Then we’ll move our play head forward several seconds and move the object into the center of the frame and set another keyframe. Now, you can see that the logo drops slowly into the second position over time.
To apply an easing function, right click on the timeline between the two keyframes you’ve created. There are a range of pre-defined actions from which to choose. We’ll go with “Out Elastic” to create a bounce effect. You can see that effect here.
All easing functions can be customized, so users are in complete control over how to animate objects around the frame.
In the next video we’ll go over easing functions in more detail and demonstrate a few of the pre-defined options.
-

Easing Functions 2
Easing functions are useful for creating natural-looking animation of objects in VIC-3D 9 with iris. If you have any questions, please contact our support team.
www.correlatedsolutions.com/contact-us/
803.926.7272 ext 2
Script:
Previously we covered how to apply easing functions to control the movement of objects around the frame in iris.
In this video, we’ll go into more detail and demonstrate a few of the more popular easing options.
Each easing option can affect the beginning motion (In), the end motion (Out), both (InOut), or work from the center out (OutIn).
To review, easing options may be selected by right-clicking on the timeline between the relevant keyframes and choosing from the Easing submenu.
Six main categories of predefined easing options are available.
Selecting Customize allows further customization of the exact parameters of the easing curve.
It is also a convenient way to preview the motion of each easing curve.
As you can see, the range of easing functions in VIC-3D 9 with iris allows users a great deal of flexibility with how objects are animated.
-

Plotting a Single Data File
In this video, we will review how to plot a specific data file in VIC-3D 9 with iris. If you have any questions, please contact our support team.
www.correlatedsolutions.com/contact-us/
803.926.7272 ext 2
Script:
There may be occasions where you only want to plot a single data file, such as the instant before failure at max load.
The first step is to add a new sequence using Iris Tools from the toolbar. Navigate to the relevant folder and select the single data file you would like to view.
Name sequence appropriately.
Next, navigate to the sequence manager. Select the sequence we just created.
Finally, change the data source in the properties editor in the right side bar. as shown here.
Now you can see we have the single data file that can be animated using all the tools in iris.
-

Zoom Effect with Clipping
In this video, we will review the zoom effect with clipping in VIC-3D 9 with iris. If you have any questions, please contact our support team.
www.correlatedsolutions.com/contact-us/
803.926.7272 ext 2
Script
Let’s start with some simple shapes to demonstrate the concept of clipping. Sometimes called ‘masking’, this effect involves obscuring a section of one object by placing another object on top to create a mask.
To illustrate, first draw a circle using the DRAW ELLIPSE TOOL and then a rectangle with the DRAW RECTANGLE TOOL in iris. Reminder - pressing SHIFT while drawing constrains the proportions. For the rectangle, remove the fill but keep the stroke. Then make sure the rectangle is arranged on top of the circle using the depth setting in the menu. Now, select both shapes by selecting one and then SHIFT + select the other. Then press “C” on the keyboard. You can see that the top object – in this case the rectangle – acts like a mask for the object underneath. To undo the clipping effect, select the group and press SHIFT + C.
Objects can also be clipped using the context menu shown here when right clicking on two selected objects.
Now let’s see how this works on a plot with animation.
To zoom in on a specific region of a 2D or 3D plot, draw a shape over the area of the plot to be clipped. Then select the object and the drawn shape, and then press “C” on the keyboard. Again, selecting any clipped objects and pressing SHIFT +“C” will unclip the objects.
The clipped object can now be animated to show or hide objects as well as bring focus to certain areas within a plot.
In this example, as the strain increases, we’ll zoom in to show more detail.
We’ll start with the 3D plot and add a keyframe at 0. Then move the play head to 10 second, add another keyframe and set the time to 1.0.
Now, copy this plot using CTRL + C and paste in place with CTRL + SHIFT + V. Now you have two identical plots in the same location. Make sure the top plot is selected and your play head is on 0. Add keyframes for scale and position. Now move the play head to 10 and add another keyframe for scale and another for position. Now move the plot to a new position on the left and increase the size.
Now, draw a circle using the ellipse tool and place it on top of the plot at the location you would like to highlight. With the play head on 0, add keyframes for scale and position. Now move the play head to 10 and add a keyframe for scale and another for position. Now move the circle to a new position on the left and increase the size.
Now we need to create the reference circle which doesn’t move. To do this, copy the circle using CTRL + C and paste in place with CTRL + SHIFT + V. Now delete the keyframes at 10 seconds on the new circle so that it is stationary. As you can see, the first circle moves out leaving the other as a reference.
To complete the effect, simply select both the circle and the plot by selecting one and then SHIFT + select the other. Then press “C” on the keyboard. You can adjust the arrangement parameters using the depth selection on the menu. The original, non-moving plot should be the lowest number at 100. The non-moving reference circle should on top of that at 101 and the clipped pair at 102.
To fine tune the placement, just remember to keep your play head at 10 seconds and select the plot or circle and adjust the size and position.
If you have any questions, please contact our support team.
